Appearance
Getting started
There are two ways in: a hosted account at chat.wireface.dev, or your own Wireface Chat server. Either way, you then do the same three things: connect an AI provider, make a bot, and add it to your website.
Hosted: sign in with wireface.dev
A hosted account needs nothing installed. You sign in with a wireface.dev account, which uses a code texted to your mobile instead of a password.
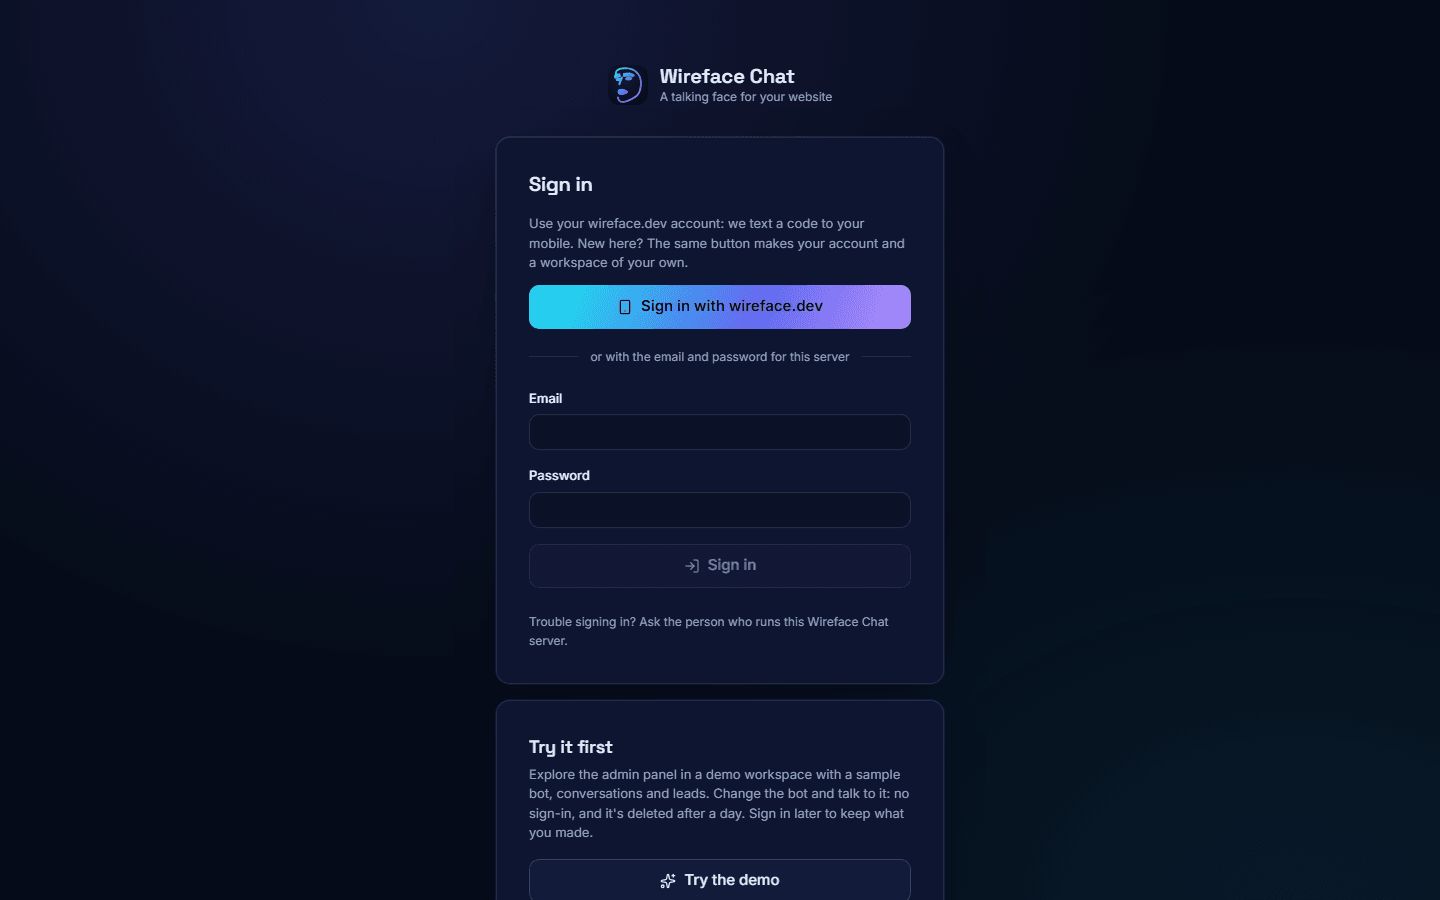
- Go to
https://chat.wireface.dev/admin/. - Click Sign in with wireface.dev. You go to wireface.dev, which texts a code to your mobile.
- Enter the code there. You come back to Wireface Chat, signed in.
New here? The same button makes your wireface.dev account and a workspace of your own. A new workspace starts at the Provider step of the setup, described below. The workspace is named after you; rename it under Settings, Workspace.
People you invite to your workspace sign in with the email and password they chose when they accepted the invitation, using the boxes under or with the email and password for this server. See Team and invitations.
If signing in goes wrong, the sign-in page says why:
| Message | What to do |
|---|---|
| That sign-in took too long, or was started in another tab. | Start again from Sign in with wireface.dev, in one tab. |
| That sign-in didn't work. | Try again. |
| Sign-up is closed for today. | New workspaces are limited each day. Try again tomorrow. |
| This account is turned off. | Ask the people who run the server. |
Hosted workspaces have some limits, and you bring your own AI keys. See Hosted accounts.
Not sure yet?
Try the demo on the sign-in page opens a demo workspace with a sample bot, conversations and a lead, without signing in. Sign in from it later to keep what you made. See Try the demo first.
Your own server: the setup wizard
On a server you run yourself, the first person to open the admin panel makes the owner account with the setup wizard. Starting the server is covered in the Quick start and Docker.
- Find the setup token. The server prints it in its log on first start (or uses the
SETUP_TOKENyou set). It proves you run the server. - Open
/admin/setupon your server, for examplehttp://localhost:8800/admin/setup. - At Welcome to Wireface Chat, fill in Setup token, Your name, Email, Password (at least 10 characters) and Workspace name (your company or project; one workspace can have many bots).
- Click Create account. You are the workspace's owner, and the setup moves on to Provider.
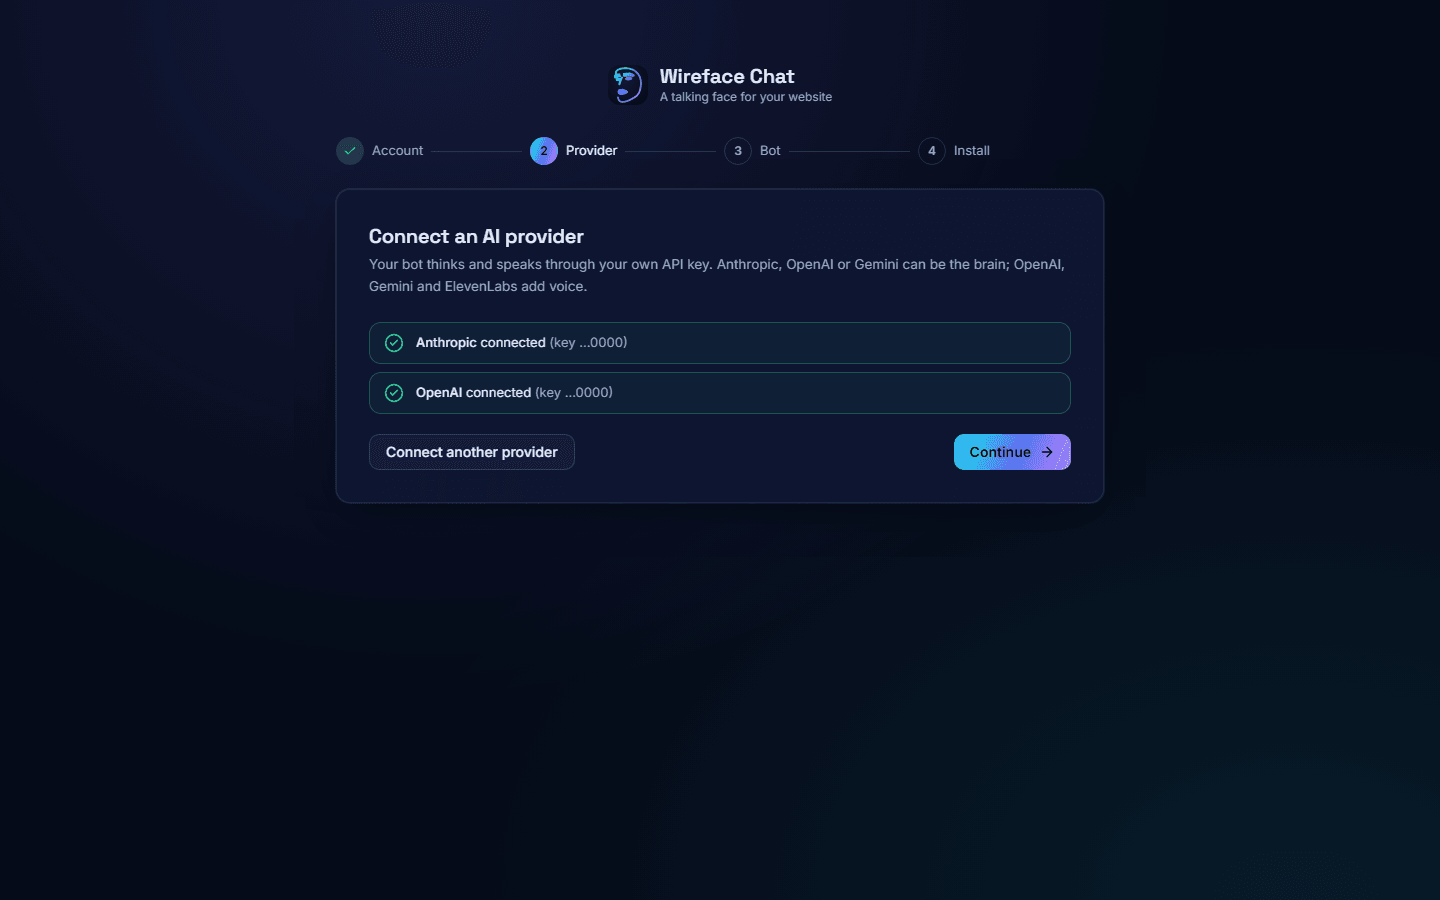
The setup has four steps, shown along the top: Account, Provider, Bot and Install. If you leave part way through, sign in again and open /admin/setup to carry on.
After the setup, you sign in with that email and password.
Connect an AI provider
Wireface Chat doesn't include an AI model. Your bots think and speak through your own account with an AI provider, using its API key. The provider bills you for what your bots use.
| Provider | What it gives your bots |
|---|---|
| Anthropic | The brain (Claude) for text chat. For voice, pair it with an OpenAI or ElevenLabs voice. |
| OpenAI | A brain, live voice, speech to text and text to speech. |
| Google Gemini | A brain, live voice and text to speech. |
| ElevenLabs | Voices, speech to text and ElevenLabs Agents. It can't be the brain for typed chat. |
Your bot needs Anthropic, OpenAI or Gemini to chat. To connect one:
- In the setup's Provider step, or on the Providers page with Connect a provider, pick the provider.
- Paste its API key. Get a key from the provider opens the page where you make one.
- Optionally, give it a Label (optional), such as Production, to tell keys apart.
- Click Connect and load models in the setup, or Connect on the Providers page.
The key is checked with the provider first, then stored encrypted. It is never sent back to the browser: the panel only shows its last 4 characters. Once it's connected, the provider's models and voices fill the lists in the bot editor.
In the setup, Connect another provider adds a second one (for example ElevenLabs for voices), and Continue moves on. With no key to hand, Skip for now and connect one later under Providers.
For help choosing, see Providers.
The Providers page
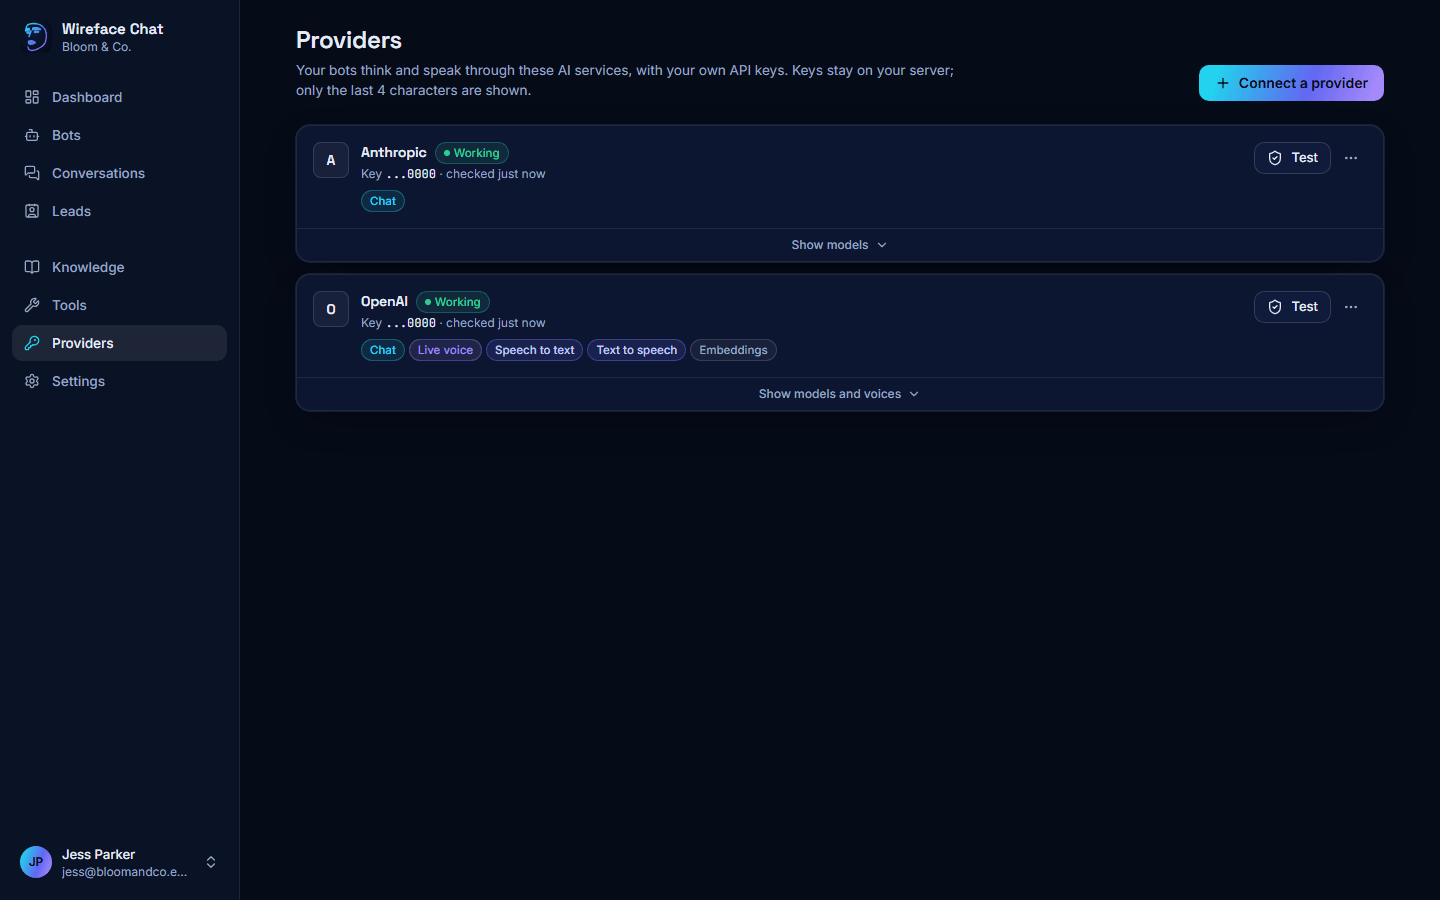
Each connection shows its status, the end of its key, when it was last checked, and what it can do (Chat, Live voice, Speech to text, Text to speech, Embeddings).
| Status | Meaning |
|---|---|
| Working | The key works. |
| Key rejected | The provider rejected the key. Replace it. |
| Out of credit | The account has run out of credit or hit a limit. |
| Error | The last check failed. Test it again. |
| Not checked | Not tested yet. |
- Test checks the key again.
- Show models and voices lists what the key offers, with Recommended models marked and a play button to hear each voice. Refresh reloads the lists from the provider.
- The ... menu has Replace key (the new key is checked first, and bots using the connection switch to it straight away), Rename and Remove. Removing a connection stops the bots that use it until you choose another provider for them.
Create a bot from a template
In the setup's Bot step:
- Pick a Template: Customer support, Sales concierge, Website guide (a talking guide, with voice on) or Blank.
- Give it a Bot name. This is for you and your team; visitors see the agent's name, which you set in the editor.
- Pick a Face.
- If you connected a provider that can speak, choose whether Voice starts on.
- Click Create bot.
The bot starts with the recommended model of what you connected, and a voice. You can change everything later in the bot editor.
Later, make more bots with New bot on the Bots page, or Create a bot on the dashboard: pick a Template, give it a Name, and click Create and open.
Install it on your site
The setup's last step, Put it on your website, has three parts:
- Your website. Enter your site's Website address and click Save. Only this site can show the chat;
https://*.example.comcovers all its subdomains. Left empty, any website could show your bot and use your AI credit. - Publish. Click Publish and the bot's name. If something is missing (a model, say), the list under It can't go live yet says what, with a link to the bot editor.
- Add this to your pages. Click Copy the script tag and paste it into your pages, just before
</body>.
Reload your page: the chat's launcher appears in the corner. Then use Open the bot editor to give the agent its job, or Go to the dashboard.
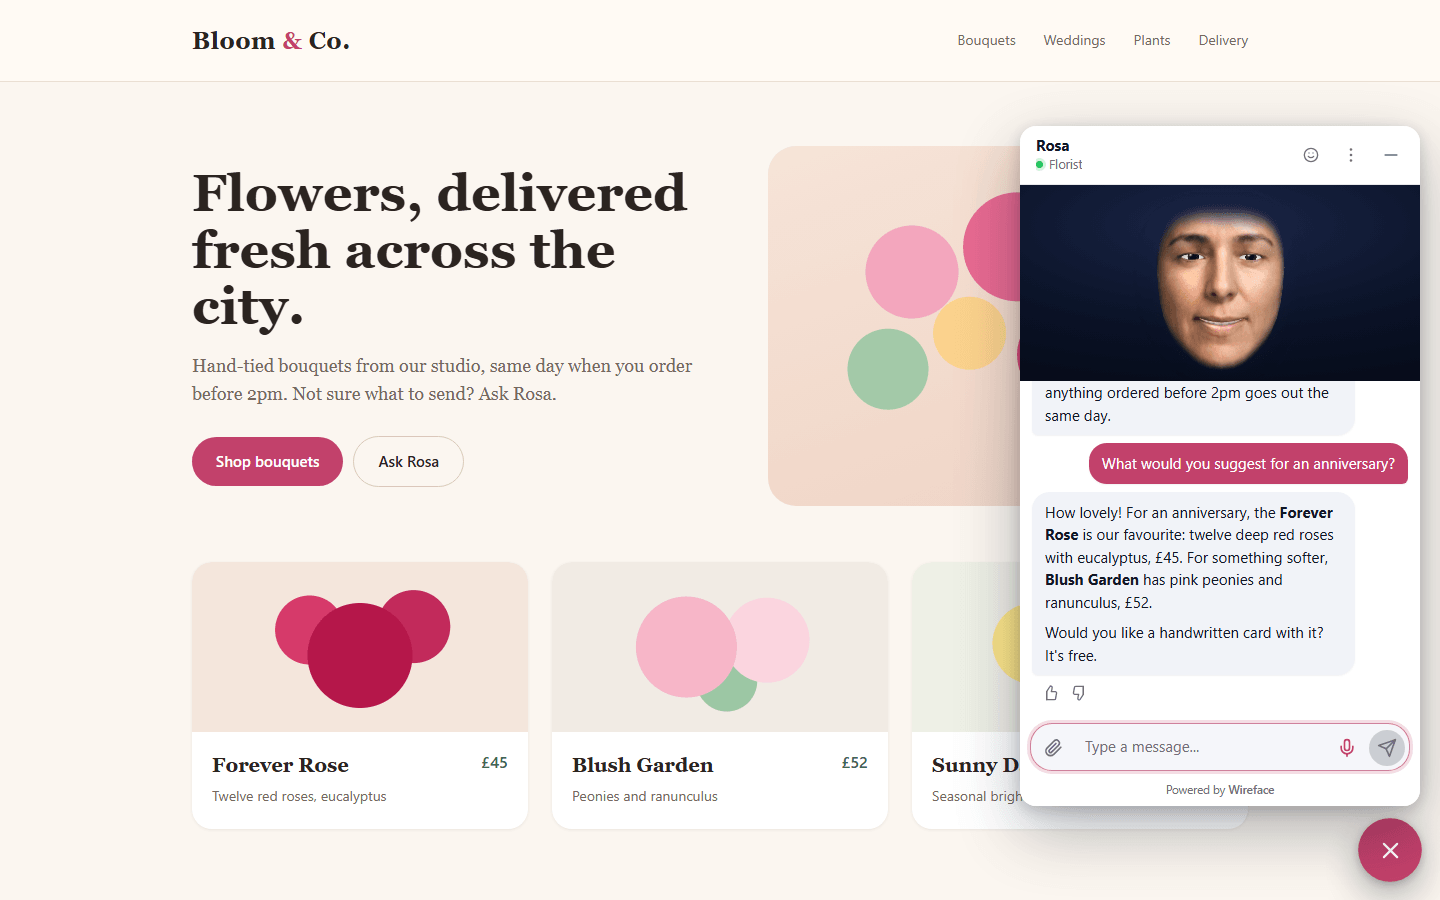
The install code is also in every bot's Appearance & embed tab, under Install, with versions for npm, React, Next.js, Vue, Google Tag Manager and an iframe. You don't need to change it when you edit the bot. See Embedding.
Trying it on your own computer
To test from a page on your own machine, add http://localhost:* to the bot's allowed websites in its Security tab, and publish again.
What next
- Write the agent's instructions in the bot's Identity tab.
- Choose its face and voice.
- Add knowledge for it to answer from.
- Invite your team to help with conversations.